Creating a Transfer in SF Modeler
You can add a transfer to a ProcessBook display during either the 'Run' or 'Build' modes.
To create a transfer in the Modeler:
In the Modeler window, right-click on any empty area and select Create a Transfer from the pop-up menu.
The Select Transfer Template for Create Transfer window opens.
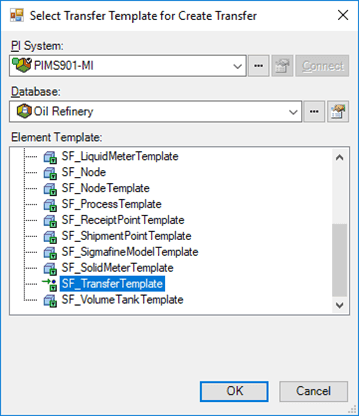
Select the template associated with the transfer(s) you want to locate.
Click OK to save your selection and close the window.
The Transfer Properties window opens.
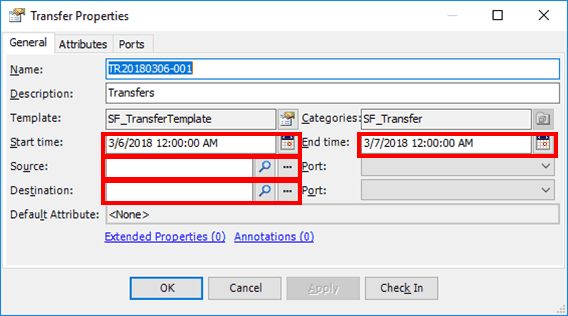
In the Start time box, type or select the date and time the transfer is to start.
In the End time box, type or select the date and time the transfer is to end.
In the Source box, type the location from which the transfer is being sourced.
In the Destination box, type the location to where the transfer is going.
(Optional) Click the Attributes tab and enter any Attribute values that are needed for this transfer.
Click OK to save the properties and close the Transfer Properties window.
The new transfer appears.
Note: In Build mode, you can drag a transfer template into a display.